Terracotta Horses
 |
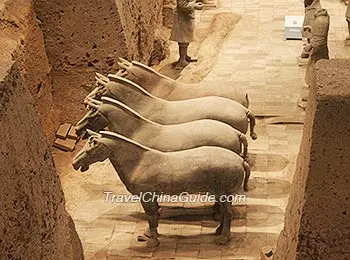
| Vivid Terracotta Horses in Pit 1 |
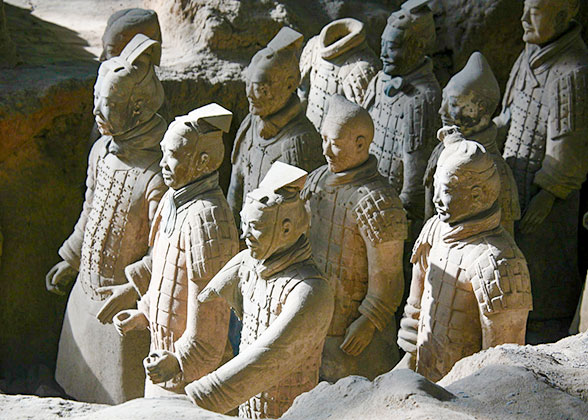
What do the terracotta horses look like?
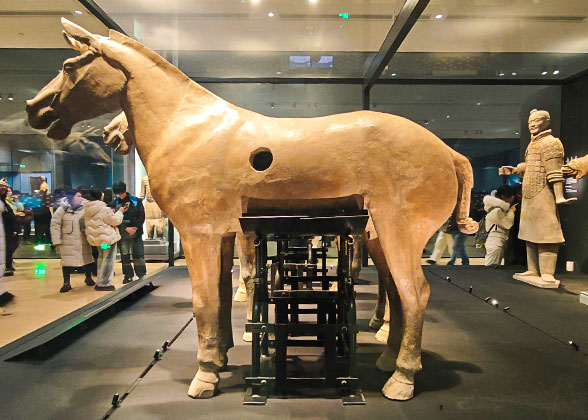
What makes these pottery horses so impressive is how real and lively they look. Their bodies are perfectly proportioned, with graceful contours and muscles that seem to ripple beneath the surface. The craftsmen carefully shaped the curves of bones and skin, creating a remarkably vivid sense of living flesh.
 |
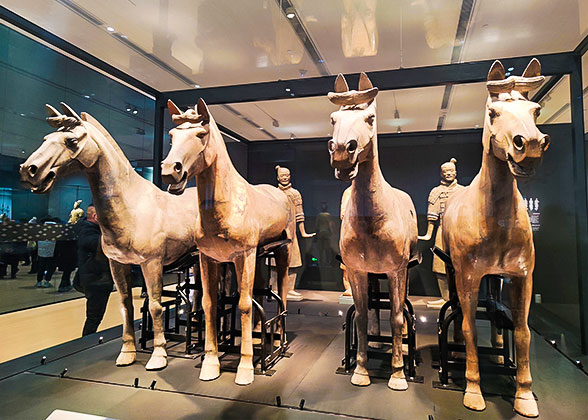
| Terracotta Horses in Pit 3 |
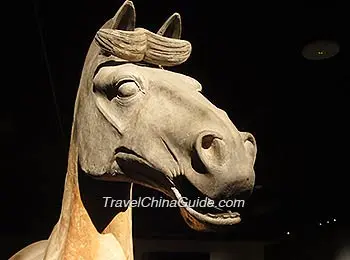
Specifically, these horses have square heads with clear edges, short ears, large and spirited eyes, broad noses, and wide mouths. Their bodies are round and full, with powerful, well-defined legs that stand firmly apart. Their strong, rounded hindquarters make them look exceptionally spirited and handsome.
The head is where the craftsmen truly excelled. Though formed from just a few large, simplified surfaces, it is full of expression. The ears, nose, mouth, and eyes are all deeply carved. The horses lift their heads, eyes wide open, nostrils flaring, mouths slightly parted - as if they are neighing. They seem to be in a state of alert readiness, filled with pent-up energy. You can imagine that at the sound of a command, they would leap forward and charge toward the enemy.
Small details were also given great attention by the craftsmen. For example, the teeth inside the horses' mouths were not overlooked. Each horse had six carved teeth, a clear sign that these animals were in their prime. In addition, the horses were originally brightly painted. Their bodies were mostly a rich reddish-brown, with black manes, black tails, and white hooves. The tongue was painted red, the teeth white, and the nostrils a flesh color, rendering the details so lifelike that it looked like a real horse.
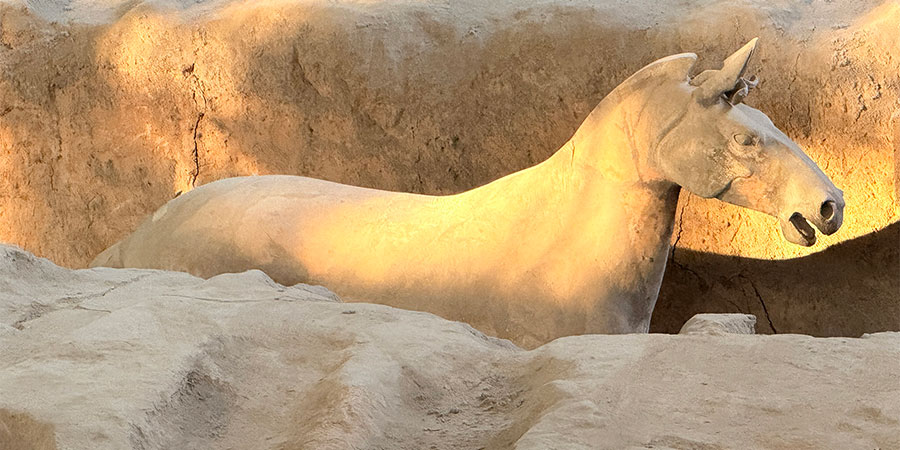 |
| Terracotta Horse under Sunlight |
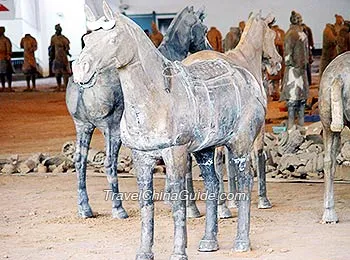
Differences in appearance between chariot horses and cavalry horses
Although both types are made of clay, chariot horses and cavalry horses show clear differences in their appearance. These differences were not random, but reflect the different jobs the horses performed in battle.
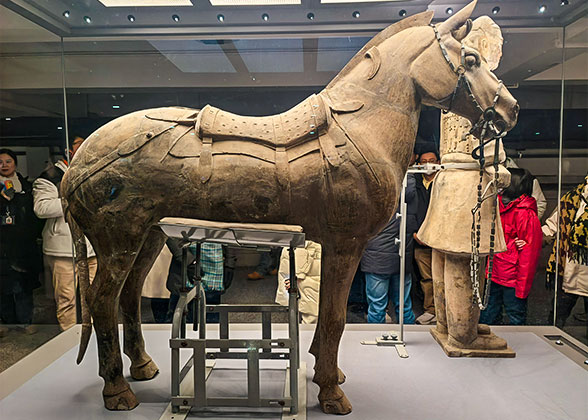
►Tail: The tail of a chariot horse is tied into a knot to prevent it from tangling in the chariot's ropes. The tail of a cavalry horse is braided into three strands so it can rise high and help the horse keep balance during a fast charge.
►Tack: Cavalry horses have saddles, girths, and bridles modeled onto their bodies. Chariot horses usually lack these, as they were connected to the chariot mainly by ropes and harnesses.
►Pose: Chariot horses appear steadier and stronger, suited for pulling heavy chariots. Cavalry horses look lighter and more explosive, ideal for quick attacks.
|
|
Manufacturing Processes of the Terracotta Horses
Making these horses was a complex task that involved several stages: creating the individual parts, assembling them into a rough form, applying a second layer of clay, carving and refining, drying the finished piece, firing it in a kiln, and finally painting it.
1. Piece-by-Piece Production
Because these horses are so large, each weighing about 245 kilograms (540 pounds), making the process even harder than making the terracotta warriors. The craftsmen used a method of making each part separately and then assembling them. A horse was divided into five main parts: head, neck, body, four legs, and tail, as well as smaller parts like the ears.
The head was typically formed in a mold to produce left and right halves, which were then glued together. The body, by far the most intricate component, was made in three main sections: the rump, belly, and chest. Each section was assembled from multiple clay pieces. In contrast, the legs were solid rather than hollow. They were shaped by repeatedly folding and compacting the clay, resulting in exceptional density and hardness.
2. Assembly and Reinforcement
Once all the parts were ready, assembly began in a specific order: first the legs, then the body cavity, followed by the neck, head, and finally the tail. Because each horse was so heavy, the craftsmen had to use temporary wooden supports to prevent the body from collapsing or deforming during assembly.
On the inside of every clay seam, an extra layer of hard clay was applied and hammered firmly to make the joint firm. In some places, they even placed linen or rope as a cushion during hammering to prevent cracking.
|
|
3. Surface Finishing and Carving
4. Drying, Firing, and Painting
Once all carving was complete, the finished horse was air-dried in the shade. The next step was firing. Due to their substantial size and notably thick walls, up to 4 - 8 centimeters (1.6 - 3.1 inches) in the neck region, the terracotta horses required exceptionally uniform kiln temperatures. This made firing significantly more challenging than that of the terracotta warriors.
Once fired and cooled, the horses received their final layer of colorful paint, which not only made them look more realistic but also gave the entire army a magnificent, eye-catching appearance. Unfortunately, most of the paint faded or fell off over the past two thousand years, but the remaining traces still hint at how stunning they once were.